Get crafty with Alan and Barry
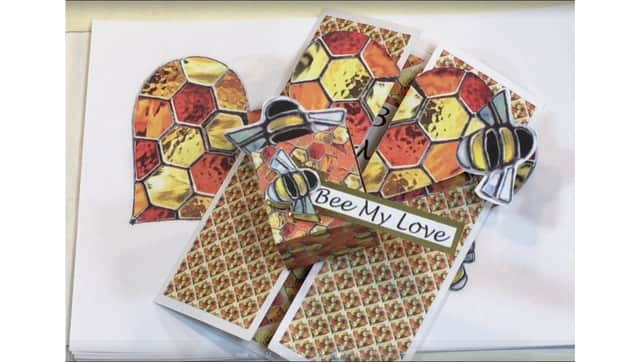

Getting to the art of the matter
Following a long and successful career, Barry Freestone and Alan Gear are both now semi-retired but have various projects they are still involved with.
Barry produces videos for the website, teaches video production and, with Alan, works on a number of community-based projects.
Advertisement
Hide AdAdvertisement
Hide AdIn Alan’s case, he enjoys producing bespoke 3D pictures and digital art. He is also heavily involved in community projects in Perth as well as designing downloads for their website.
About Alan and Barry -“About Alan and Barry - Click this link for a short overview of our history and who we are - https://www.youtube.com/watch?v=izrJVUUO6UQ
To get your FREE download for everything to make these projects use link https://alanandbarry.co.uk/product.cfm?product_ID=17707
HEART HONEYCOMB CARD AND BOX
There are over 16,000 known species of bees but the one we know is the honey bee.
Advertisement
Hide AdAdvertisement
Hide AdThey are an essential part of the eco system – they feed on nectar and pollen and in so doing promote the flowers which is essential to our lives and gives us honey. They are our friends and we need to do all we can to protect them.
You will get a Bee design set to be as creative as you like. We have provided two demonstration videos to inspire you – a heart honeycomb card and a box. These would be perfect to use on Valentine’s Day or any time of the year, so enjoy.
Bee crafty
Bee creative
Bee kind
Bee happy
All of our videos can be found on our youtube channel – https://www.youtube.com/c/AlanBarry as well as our website www.alanandbarry.co.uk
HONEYCOMB HEART CARD PROJECT
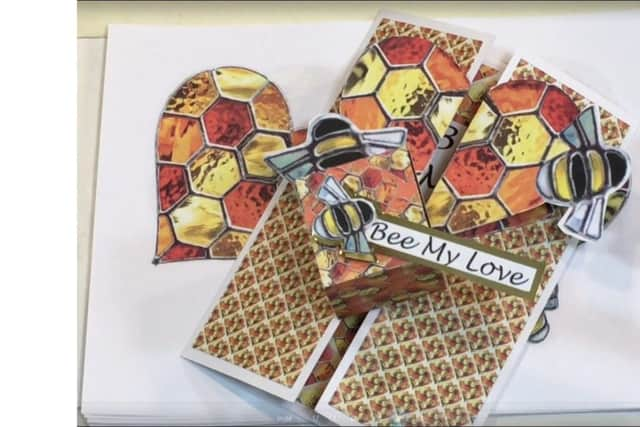

We are going to show you how to use this paper download set to make two projects.
Advertisement
Hide AdAdvertisement
Hide AdThe designs are a heart card and a box based on the stained glass effect honeycomb and bees. Make sure you watch the demonstration videos.
STEP 1
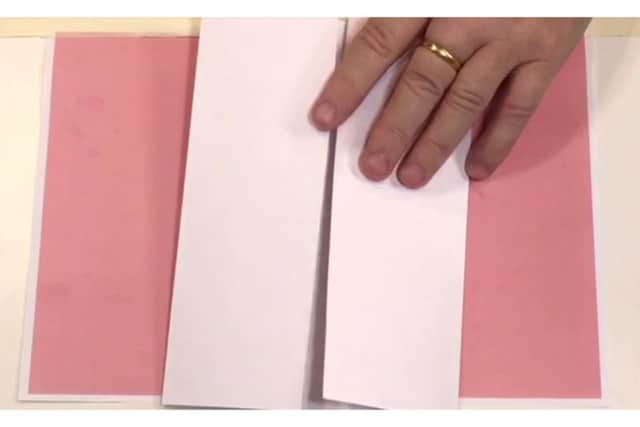

Take an A4 sheet of card and place in front of you in landscape.
Now taking a ruler mark 4 even sections. Then fold the left and right to the middle so that they meet. This will give you two outer flaps that will meet exactly in the centre and when open will reveal the centre of the card.
STEP 2
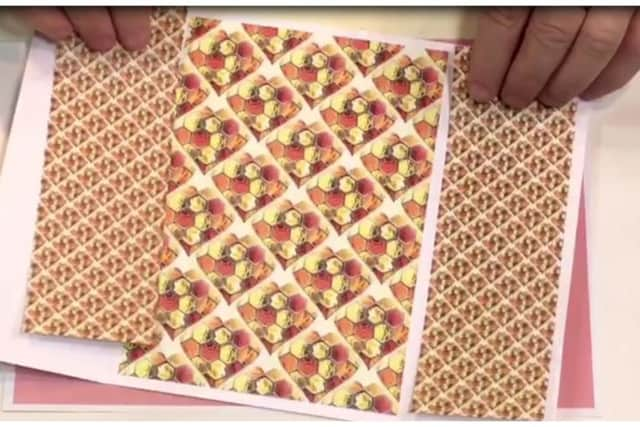

Now using the backing sheet cut out panels to fit on the card inside and out if you wish and just stick them into position.
STEP 3

Advertisement
Hide AdAdvertisement
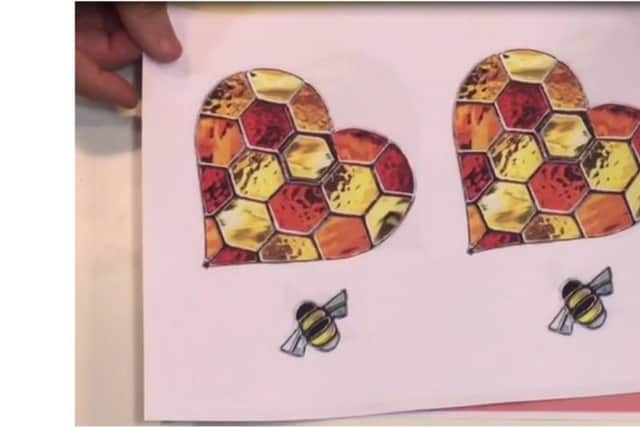
Hide AdNext print out The Honeycomb Hearts – you will want the main sheet and its mirror image so you can stick back to back.
STEP 4
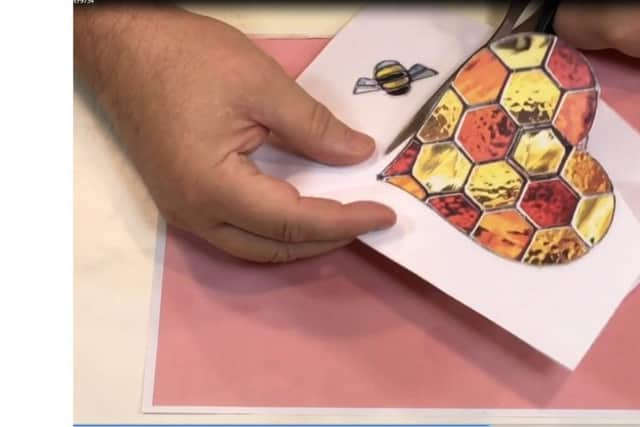

Using a light box or just hold it up to a window position the hearts back to back and taking a little glue on the white area stick together.
This will keep the hearts together when you cut them out.
STEP 5
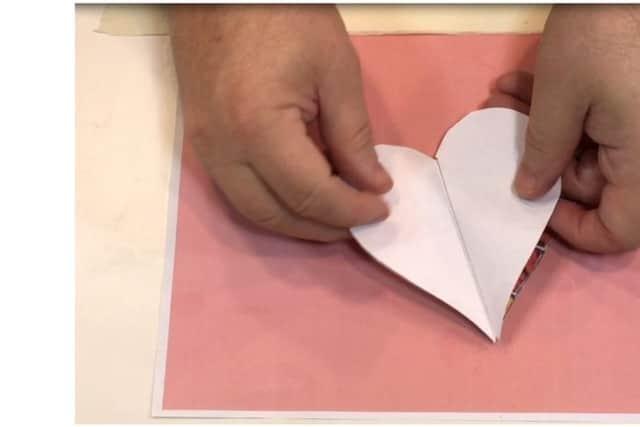

Now you can make the hearts to use as the flaps to open the card.
Take a ruler and score down the middle of the heart so it will fold well. Now stick both hearts together on one side - this will make more sense if you watch the video.
STEP 6

Advertisement
Hide AdAdvertisement
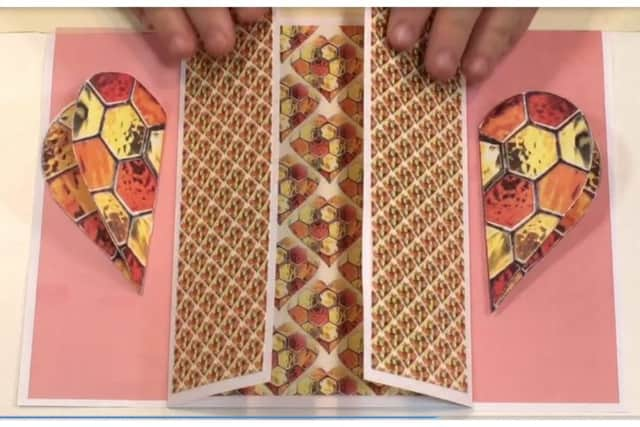
Hide AdNow stick the open sides on each side of the card flaps making sure the two sides of the hearts come together and line up well.
STEP 7
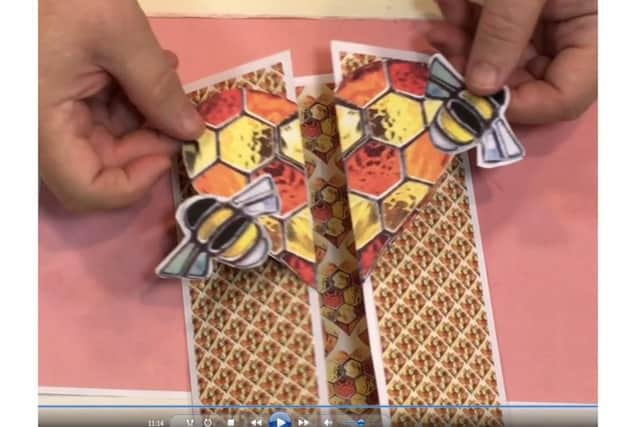

Next take the bees and stick either side of the heart (see video)
STEP 8
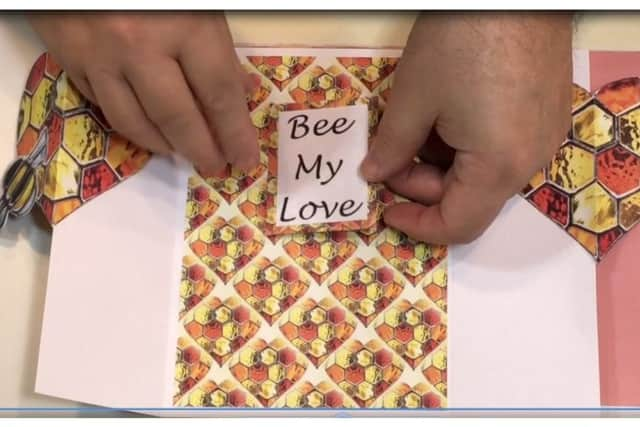

Now we have given you a few sentiments to use as you wish - Bee My Love - and now you have a finished card to give to anyone you like.
BEE BOX PROJECT
STEP 1
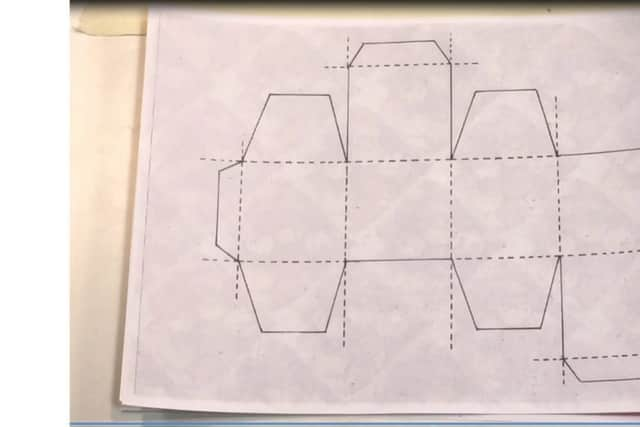

You will need to print off the box template onto thin paper - photocopy paper is fine.
SnapCrab NoName 2021-12-18 14-16-9 No-00
STEP 2

Advertisement
Hide AdAdvertisement
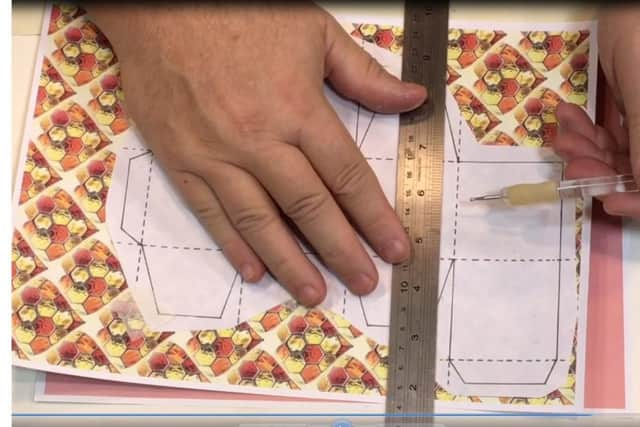
Hide AdNext cut out the design roughly, place on to your chosen background paper or card holding the design in place with some masking tape.
You can print out a piece of paper and stick it to the card to make your box more rigid.Next where the dotted lines are on the design take a ruler and embossing tool and score the lines then cut the shape out.
If you don't have an embossing tool you can use an empty ball point pen or a narrow blunt knitting needle.
STEP 3
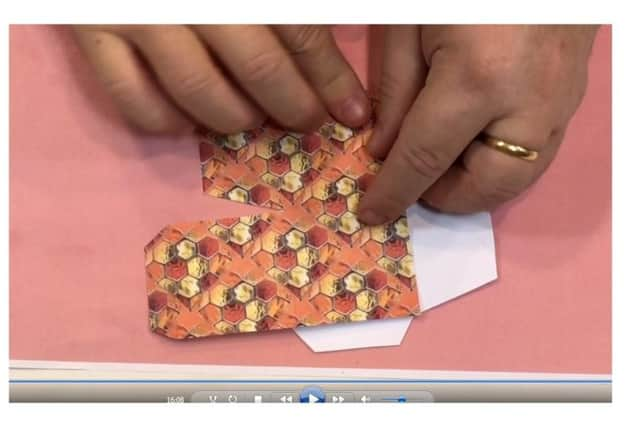

Now you will find it easy to fold.
STEP 4
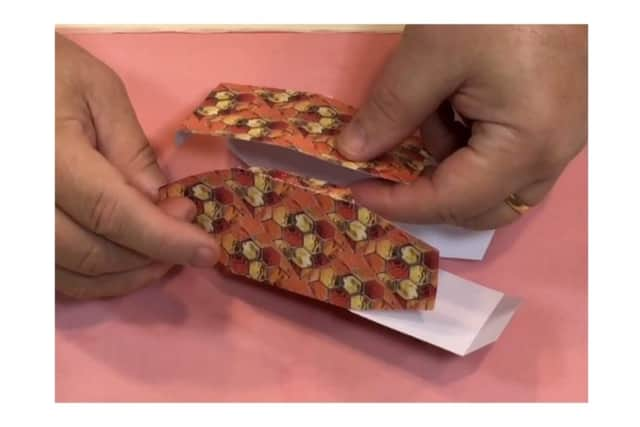

You only need to stick one flap to hold the box together - Now just fold together creating the box.
STEP 5
And we added a sentiment which we stuck to a scrap of gold card and added a bee to it too. Now it’s ready to put anything in it you like and it will match the card.